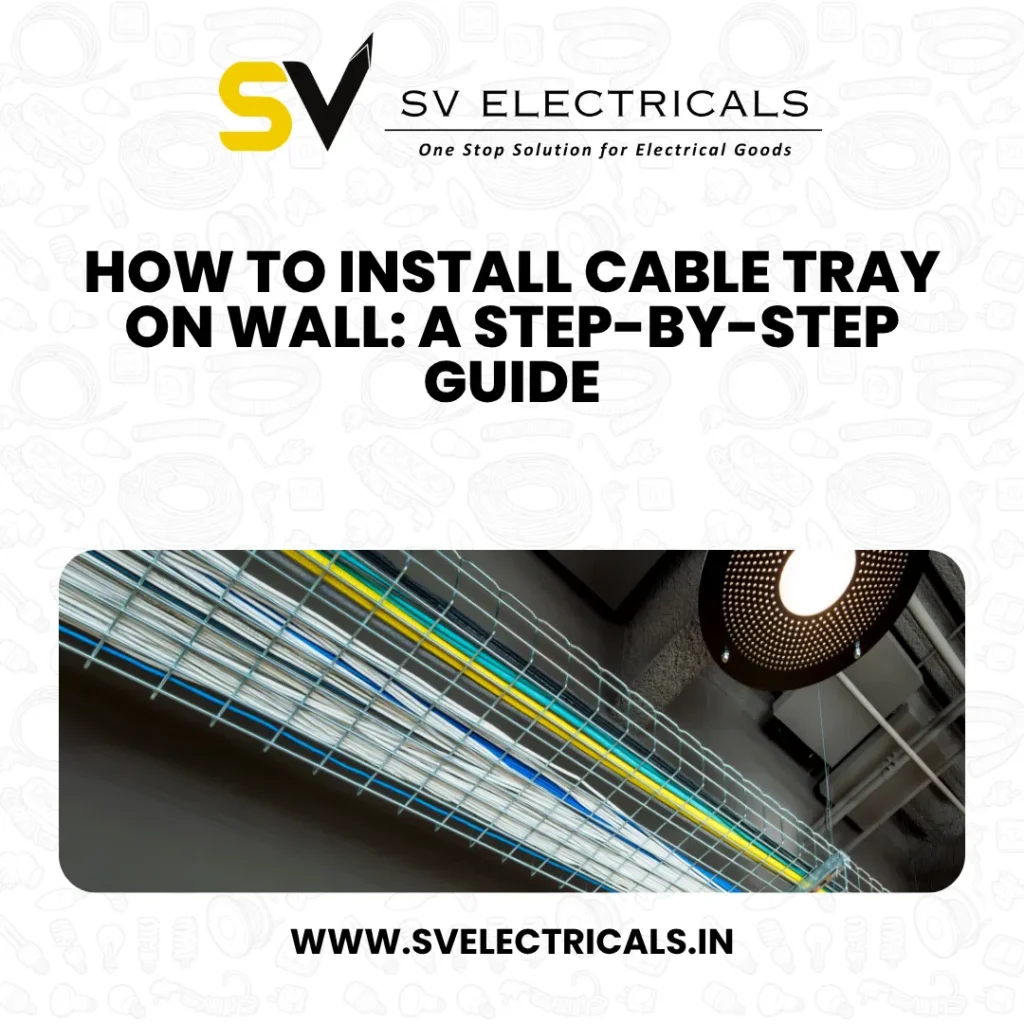
Cable trays are essential for safely organizing cables along walls or ceilings, especially in industrial or commercial spaces. They’re a straightforward solution for managing large power and data cable bundles, keeping everything in place and easily accessible.
At SV Electricals, we have crafted this guide to show you how to install cable tray on wall step by step.
Our experts cover all the basics—tools, materials, planning tips, and safety checks—to make installation easy and effective. So, let’s dive into the details to help you get it right first.
How To Install Cable Tray On Wall
Before knowing how to install cable tray on wall, you must understand its purpose and usage.
Cable trays are essential electrical and data management components that organize and support cables in various settings. By providing structured pathways, they help prevent cable tangling and wear, ensuring that cables remain undamaged and easy to maintain. Other benefits include –
- Less costly than other wiring methods
- Durable and can without power load
- Easy maintenance and inspection
- Protects against risks of damage or wear and tear.
Applications of Cable Trays
- Industrial Facilities: Perfect for supporting heavy power cables while ensuring proper airflow.
- Data Centers: Help keep complex cable networks organized, enhancing performance and cooling.
- Commercial Buildings: Keep power and communication cables tidy and easily accessible.
- Telecommunications: Ensure signal cables are arranged systematically for optimal performance.
- Power Plants: Manage high-voltage cables safely and reliably.
- Manufacturing Plants: Organize power and control cables to maintain smooth operations on production lines.
- Solar Energy: Aid in ventilation for solar panel wiring, helping to prevent overheating and boost efficiency.
Tools And Materials Needed To Install Cable Tray On Wall
Before knowing how to install cable tray on wall, you must gather all necessary tools and materials to ensure a smooth installation. Here’s what you’ll need:
- Basic Tools: Measuring tape, level, drill, screwdrivers, and a hacksaw.
- Materials: Cable tray, wall anchors, screws, brackets, and marking chalk.
- Safety Gear: Gloves, safety goggles, and a helmet for protection.
Using high-quality materials not only simplifies the installation but also ensures longevity. At SV Electricals, we provide durable cable trays and accessories like cable glands, lugs, brackets, and anchors specifically designed for wall-mounted setups, helping you maintain a safe and organized environment.

Step 1: Planning The Cable Tray Installation
Proper planning is the first step to a successful installation. Without it, issues like alignment errors, misplacement, and inadequate support may arise, leading to additional labor and costs. Here are a few planning essentials:
- Assessment of Cable Requirements: Identify the types and quantities of cables to be routed. Leave room for future expansion by planning for additional capacity if you expect to add more cables later.
- Identify the Path: Determine the exact route along the wall where the cable tray will be installed. Check the location of electrical panels, network switches, and other connection points. This ensures coverage across all critical areas.
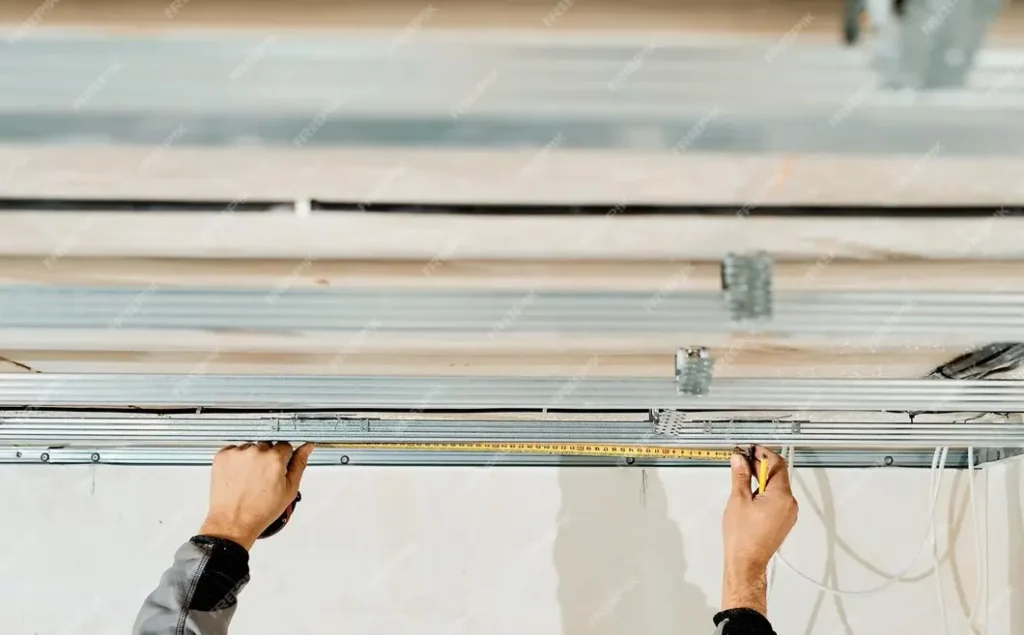
- Measure Wall Length: Accurately measure the wall and compare it with tray dimensions. This step helps prevent gaps or misalignments that could weaken the setup.
- Check for Obstacles: Inspect for any potential barriers, like pipes, conduits, or beams, that may obstruct the installation.
Step 2: Marking The Installation Points
Accurate marking ensures the cable tray is securely mounted. Here’s how to get the site ready:
- Cleaning and Clearing the Area: Clear the cable and wires and the surrounding area of dust, debris, and obstacles that could interfere with the tray’s alignment or mounting.
- Marking and Measurements: Use a chalk or laser to mark a straight line along the chosen path on the wall to guide the cable tray installation. Mark the points where the brackets will be fixed, keeping a consistent distance between them (usually 1-1.5 meters).
- Ensure Alignment: Use a level to ensure the marking is straight and parallel to the wall for proper alignment.

Step 3: Fixing The Wall Brackets
The wall brackets are critical for holding the cable tray in place.
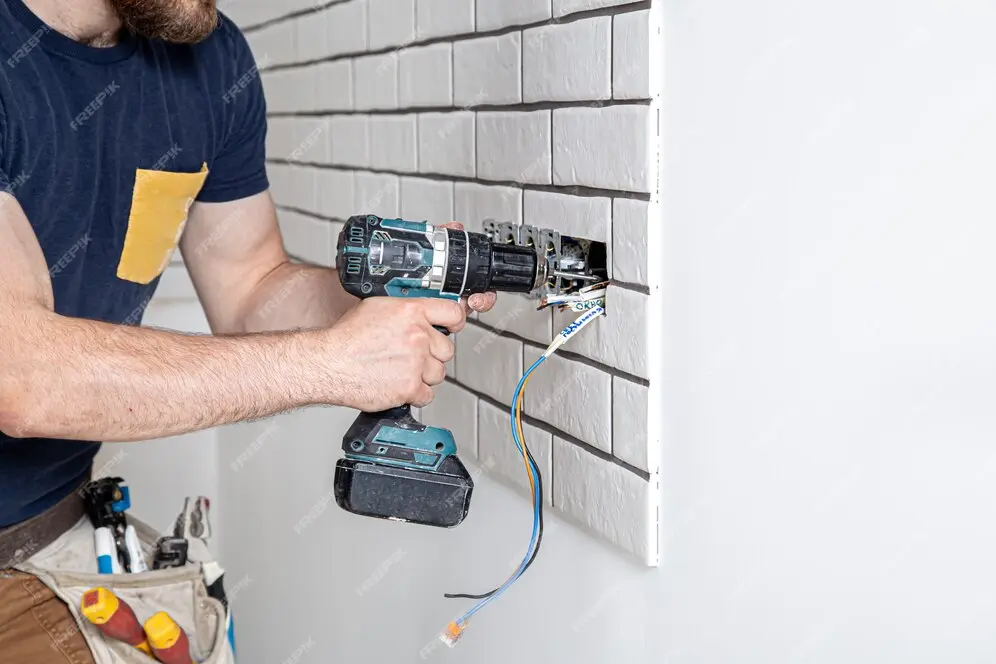
- Drill Holes: Drill holes at the marked points using a drill bit that matches the size of your wall anchors.
- Install Wall Anchors: Insert wall anchors into the drilled holes to provide a strong grip for the brackets.
Attach Brackets: Secure the brackets to the wall with screws, ensuring they are tightly fastened for maximum support.
Step 4: Installing The Cable Tray
Now, it’s time to install the cable tray onto the wall-mounted brackets.
- Position the Cable Tray: Place the cable tray on the mounted brackets, ensuring it fits well and aligns with the planned path.
- Secure with Bolts: Use bolts or screws to secure the tray to the brackets, ensuring they are appropriately tightened.
- Adjust for Flexibility: Ensure that there is some flexibility in the cable tray to accommodate any slight adjustments needed during cabling.
Step 5: Routing The Cables
Once the tray is mounted, route the cables inside it for proper organization.
- Organize Cables: Separate the cables by function or type (e.g., power cables, communication cables) to avoid interference. This is particularly important in data centers, where interference can impact performance.
- Use Cable Ties: Secure the cables to the tray using cable ties or clamps to prevent them from shifting. Ensuring cables are tightly supported prevents sagging and makes future troubleshooting straightforward.
- Labeling: Properly label cables for easier identification, simplifying maintenance and troubleshooting down the line.
- Allow for Expansion: Leave some slack in the cables to accommodate any future expansions or modifications.
Safety Tips For Cable Tray Installation
When installing cable trays, it’s essential to prioritize safety to prevent accidents and ensure a secure setup. Here are the top safety tips for cable tray installation:
- Turn Off Power: Always disconnect the electrical power before beginning any work with cables to avoid electric shocks.
- Wear Protective Gear: Equip yourself with gloves, safety goggles, and a helmet to shield against potential hazards.
- Follow Manufacturer’s Guidelines: Adhere to the installation instructions provided by the manufacturer to ensure compatibility and safety.
- Avoid Overloading: Ensure that cable trays are not overloaded. Overfilling can cause breakdowns, leading to risks such as electric shocks and fires.
- Use Fire Stops: When cable trays pass through fire-rated walls or floors, install appropriate fire stops to prevent the spread of fire and smoke.
- Proper Support: Ensure cable trays are securely supported according to installation guidelines. Inadequate support can lead to accidents.
- Monitor Fill Levels: Adhere to the fill values specified by regulations, such as the National Electrical Code (NEC). Avoid exceeding these limits to prevent overheating and insulation breakdown.
- Grounding: Implement proper grounding for cable tray systems before installing cables. This step is crucial for personal safety and protection against arcing.
- Remove Abandoned Cables: Clear out any abandoned cables from the trays to prevent clutter and minimize potential hazards.

Maintenance Tips For Cable Trays
Proper maintenance ensures the longevity and safety of cable trays. Here’s how to keep it in optimal condition:
- Regular Inspection: Check the tray periodically for rust, wear, or damage. Spotting issues early helps you address them before they escalate.
- Clean the Tray: Keep the tray free from debris, dust, and any accumulated dirt obstructing cable paths.
- Tighten Screws: Loose screws can compromise the tray’s stability. So regularly check and tighten any loose screws to ensure the tray remains secure.
A well-installed cable tray system provides a reliable foundation for efficient and safe cable management. Following this guide, you can master every aspect of the installation, from planning and site preparation to grounding and final inspection.
At SV Electricals, we’re committed to providing high-quality, customizable cable trays that meet the diverse needs of every project, ensuring a durable and effective solution for years to come.
Interested in our full range of cable tray solutions? Contact us for tailored recommendations and expert guidance on your next project.
Frequently Asked Questions About How To Install Cable Tray On Wall
How To Easily Install A Cable Tray On A Wall?
For easy installation, follow each step carefully—from planning and marking to positioning the tray securely on brackets. Use high-quality materials for optimal results.
What Tools And Materials Are Needed To Install Cable Tray
To install a cable tray, you need a measuring tape, level, drill, screws, wall anchors, brackets, and protective gear.


