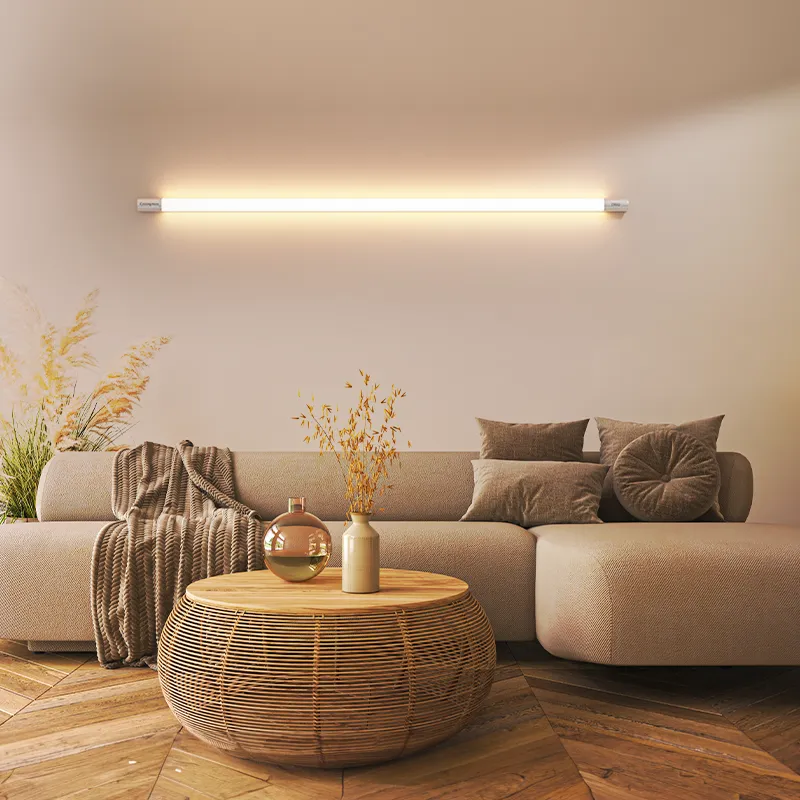
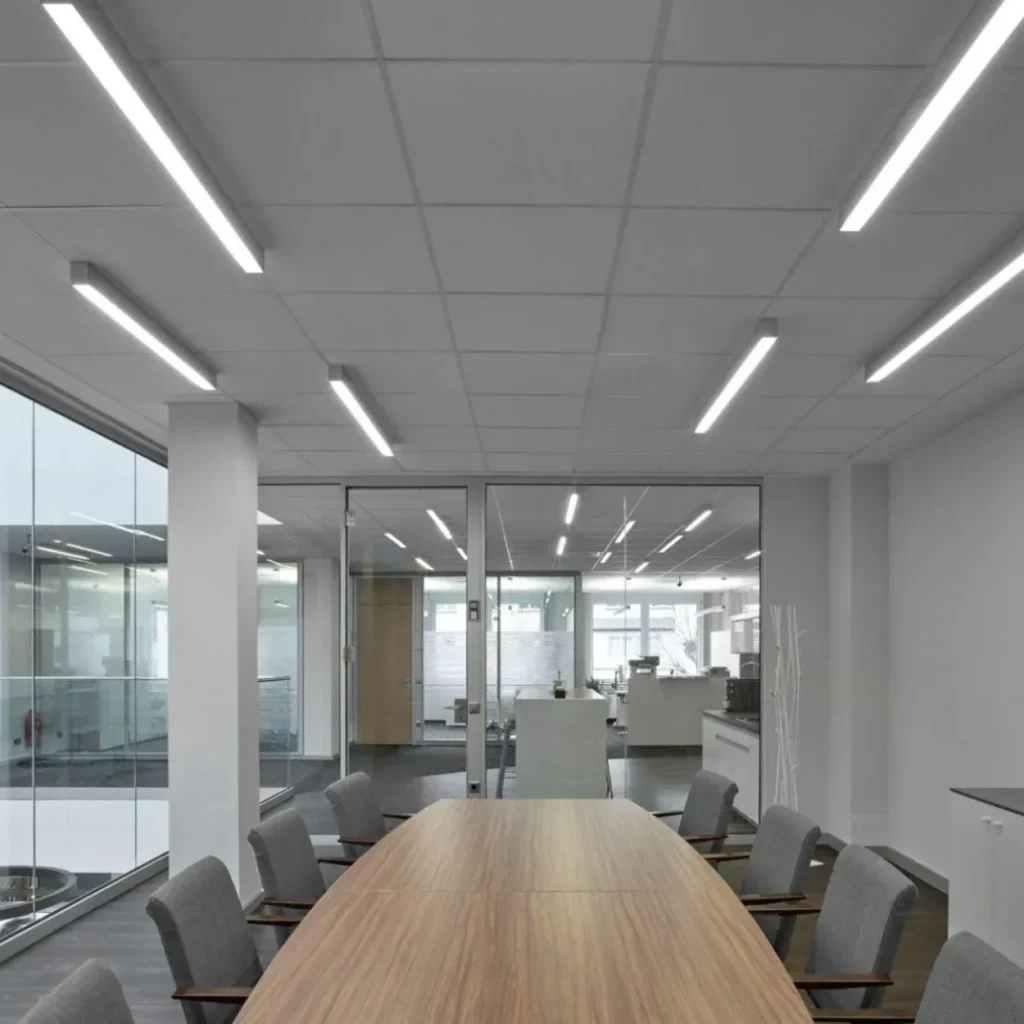
LED tube light is a Modern type of tube light. This tube light depends on LED (Light Emitting Diode). LED Tube light is known for its high efficiency and long lifespan. This Tube light consumes less Electricity and Saves more Energy with less Generated heat.
LED Tube light is used for General lighting in offices, schools, homes, and other places. LED Tube lights come in many colors and allow users to choose the color that suits their environment. LED Tube light is environment-friendly and can fit everywhere easily.
How to Repair LED Tube Light?
Repairing LED Tube lights can be an easy process. You can easily Repair your LED Tube lights if you have some basic knowledge of electronics products. To Repairing LED Tube lights you will have to find the issues and fix the problem. Here are some common issues in LED tube lights and how to Repair the LED tube lights.
- Check Power Supply: check the LED Tube lights are working correctly and getting proper power from the socket. if the power supply is good and the LED Lights still do not work, check the switch that is leading power to the socket.Still, if there is no power, then we have to proceed next steps
- Check the Driver: LED Tube light has a driver that controls the LED tube light power system. if the light is flicking or not the driver may be in bad condition. To check the driver, first, disconnect from the LED and check with a voltage, if you find the driver in bad condition then we need to replace it with a new one.
- Check LED Chips: Sometimes LED Tube light chips get damaged because of some parts. To check the LED chip first turn off the power and identify the damaged chip.
- Check for Loose Connections: with overtime joints soldering may loose, if you find any joints loose fix them by again soldering and checking the wires that connect to the LED’s driver.
- Check the Base Pins: check the base pins of LED Tube lights (that connect to the socket) might be loose or corroded. if they are damaged and do not fit properly in the socket so replace them.
- Check the condenser: Also, check the LED Tube lights Condenser, if the condenser is damaged it will need to be replaced.
- Check the plug and wiring: check the wiring inside of the LED tube light for any breaks, cuts, or loose connections, Reconnect with the new wire.
Safety Precaution:
Before check the wire first make sure the power supply is off.
How to Repair Blinking LED Tube Light?
Blinking LED tube lights can be frustrating; we have to address the issue. Understanding the common causes and fixing the problem effectively.
Here are some of the most reliable reasons why LED tube lights blink.
- Faulty Wiring: Loose or damaged LED wires can cause an inconsistent power supply, and make the light blink.
- Driver Issues: The LED driver regulates the power to the light. If it’s not working properly, the light might blink.
- Voltage Fluctuations: If the voltage in your home’s electrical system isn’t steady, the LED tube light start blinking.
- Capacitor Problems: The capacitor in the LED Tubelights driver helps smooth out the electricity current in LED.
- Poor Quality Components: Low-quality LED tube lights might not work as well, and due to cheap LED Tube lights. The LED Tube light starts Blinking.
Step-by-Step Guide to Fix Blinking LED Tube Lights
- Check that the power supply is stable because sometimes a loose connection or faulty socket can cause blinking.
- Make sure the light is plugged in switch and the power is on.
- check for any loose or damaged wires. first Turn off the power, open the light fixer, and check all the connections.
- Tighten any loose wires and replace them with new ones. faulty LED chips inside the tube.
How to Repair Philips LED Tube Light?
Philips LED tube lights are known for their quality, but like any other company’s electronic device, these LED tube lights face issues. Let’s explore some common problems specific to Philips LED tubes.
Specific Issues with Philips LED Tube Lights:
- Philips LED tubes, like many other brands, rely on a driver to manage the current. Over time, the driver may fail, or the light not turn on at all.
- Philips LED tubes are designed to work with a wide range of fixtures. However, if you’re using an older fixture, especially one that’s not LED-compatible, you might face issues like no light.
- Philips LED tube lights are generally efficient, they can generate heat. If the does not have proper ventilation, overheating can cause the LED tube lights to lifespan.
- Philips LED tubes are designed to gradually dim as they near the end of their lifespan, rather than suddenly work stop. However, this can sometimes be mistaken.
Repair Techniques for Philips:
- Replacing the Driver: If you suspect a driver issue, you’ll need to replace it with a compatible one. Philips offers replacement drivers specifically designed for their LED tubes. Make sure to get the correct model.
- Checking Fixture Compatibility: Make Sure that the fixture is compatible with LED tubes, especially if you’re retrofitting from fluorescent tubes.
- Improving Ventilation: check the proper ventilation. installing the LED tube lights that allow better airflow, or add ventilation slots to reduce heat.
- Handling End-of-Life Issues: Philips LED tube lights are dimming, they might be reaching the end of their lifespan.
- Inspecting and Tightening Connections: Over time, connections can loosen, leading to flickering operations. Turn off the power, remove the tube, and check the connections in the sockets.

How to Fix Flickering LED Tube Lights?
Flickering LED tube lights can be annoying, but understanding the causes and knowing the problem and how to fix them can save you a lot of hard work. Let’s dive into what might be causing the flickering and how you can fix it effectively.
Reasons for LED Tube Light Flickering
- Voltage Fluctuations: One of the most common reasons for flickering is inconsistent voltage supply. If the power supply to your LED tube light is unstable, it can cause the light to flicker.
- Loose Connections: A loose connection in the wiring can lead to flickering. This can happen if the LED tube lights aren’t securely fitted in their sockets or if the wiring is loose.
- Compatibility Issues: Some LED tubes are not compatible with your fixture, especially if you’re using an old fixture. This incompatibility can result in flickering.
- Aging LED Tube: Over time, LED tubes can wear out, and one of the first signs of this is flickering.
Effective Fixes for Flickering
- Check Connections: Turn off the power button then, Carefully check the connections, ensuring the LED tube lights are properly fit in their sockets.
- Test for Voltage Fluctuations: Use a multimeter to check the voltage supply to the fixture. If you notice fluctuations, consider using a voltage stabilizer to resolve the issue.
- Replace the Driver: If you suspect the driver is faulty, you may need to replace it. Ensure the new driver is compatible with your LED tube and fixture.
- Replace the Tube: If the tube is old or damaged, replacing it with a new one might. Ensure that the new tube lights is compatible with your power supply.
Long-Term Solutions
- If your current fixture is old and causing compatibility issues, consider upgrading to a new LED-compatible fixture. This can improve overall lighting quality.
- Purchase of high-quality LED tube lights with a good driver can reduce the chances of flickering and provide more consistent lighting.
- power voltage low can be a major issue in your city or area. installing a new voltage stabilizer can protect your LED tubes from damage.
How to Replace LED Ceiling Tube Lights Safely?
Replacing an LED ceiling tube light might seem tricky, but with a little knowledge of electricity, you can do it safely and smoothly.
Steps to Replace LED Tube Light:
- Safety first! Always turn off the power before starting the replacement LED Tube light.
- If the tube is in a fixture with a cover, gently remove the cover.
- Hold the tube firmly with both hands. Twist it slightly until it loosens from its sockets, then carefully pull it out.
- Install the new LED tube with the sockets.
- If your fixture has a cover, carefully place it back over the LED tube light.
- Turn the Power Back On, Once everything is in place. Flip the light switch to test your new LED tube light.
- After that Enjoy Your New Light, If the light turns on smoothly, you’ve done it! If not, double-check the connections and make sure the tube is properly fit in the sockets.
Tools Required for Replacement:
- Ladder: To safely reach the ceiling fixture.
- Screwdriver: In case you need to remove any screws from the cover.
- Voltage Tester: To ensure the power is completely off before you start working.
- Gloves: Gloves are optional, but gloves can provide a better grip and protect your hands.
Are LED Tubes Replaceable?
Yes, Most of the LED tube lights are replaceable, but it depends on the LED Tubelights type. Some LED tubes can be Direct replaceout easily with older fluorescent tubes without modifying the fixture. However, some LED tubes require a specific type of fixture or wiring, so check the compatibility first.
Type of LED Tube: There are mainly two types of LED tubes—Type A and Type B. Type A LED tubes are designed to work with existing fluorescent ballasts, making them easier to replace. Type B LED tubes, on the other hand, require direct wiring to the power source, which means the ballast must be removed.
- Fixture Compatibility: Some fixtures are designed specifically for LED tubes and may not accommodate other types of lighting. Before replacing an LED tube, it’s important to check if the new tube is compatible with your existing fixture.
- Built-in vs. External Driver: Some LED tubes come with a built-in driver, making them easy to replace. Others require an external driver, which might complicate the replacement process.
- Warranty and Lifespan: LED tubes generally have a longer lifespan compared to other LED tubes. If an LED tube light issue is within its warranty period, it might be covered for a free replacement.
Alternatives to Replacement If an LED tube isn’t replaceable, you can consider rebuilding the fixture with a compatible LED driver or upgrading to a new LED fixture. Both options can be cost-effective and improve energy efficiency.

Why Do Tube Lights Stop Working Suddenly?
- Faulty Starter: The starter is responsible for initiating the LED tube lights. If it malfunctions, the light may not turn on at all.
- Burnt-Out: LED Tube lights have filaments at both ends. If one of these burns out, the LED tube light won’t work.
- Loose Connections: Over time, the connections in the tube light fixture can become loose, causing the light to stop working suddenly
What is the Lifespan of LED Tube Lights?
An LED Tube light’s lifespan can range from 50,000 hours to 100,000 hours. In short, if you use your LED Tube lights for about 10 hours in regular days LEDs will serve you well for more than 14 years.
Frequently Asked Questions About 'How to Repair LED Tube Light'
Why Do Tube Lights Stop Working Suddenly?
LED Tube lights might stop working suddenly due to a faulty driver, loose connections, or a damaged LED chips. It could also be a problem with the power supply from switch to socket.
How to Fix Flickering LED Tube Lights?
To fix flickering LED tube lights, check for the LED loose connections, or ensure the power supply is stable. Also, make sure the light is proper if you are using this.


